
A Step-by-Step Guide to manage multiple Sentinel workspaces using Azure Lighthouse.
If you’re managing multiple Sentinel workspaces across different Azure tenants or working with clients who have their own Azure environments, you’ve probably faced the challenge of switching between different tenants and managing operations across multiple accounts. It’s time consuming and not a very efficient way of managine multiple workspaces.
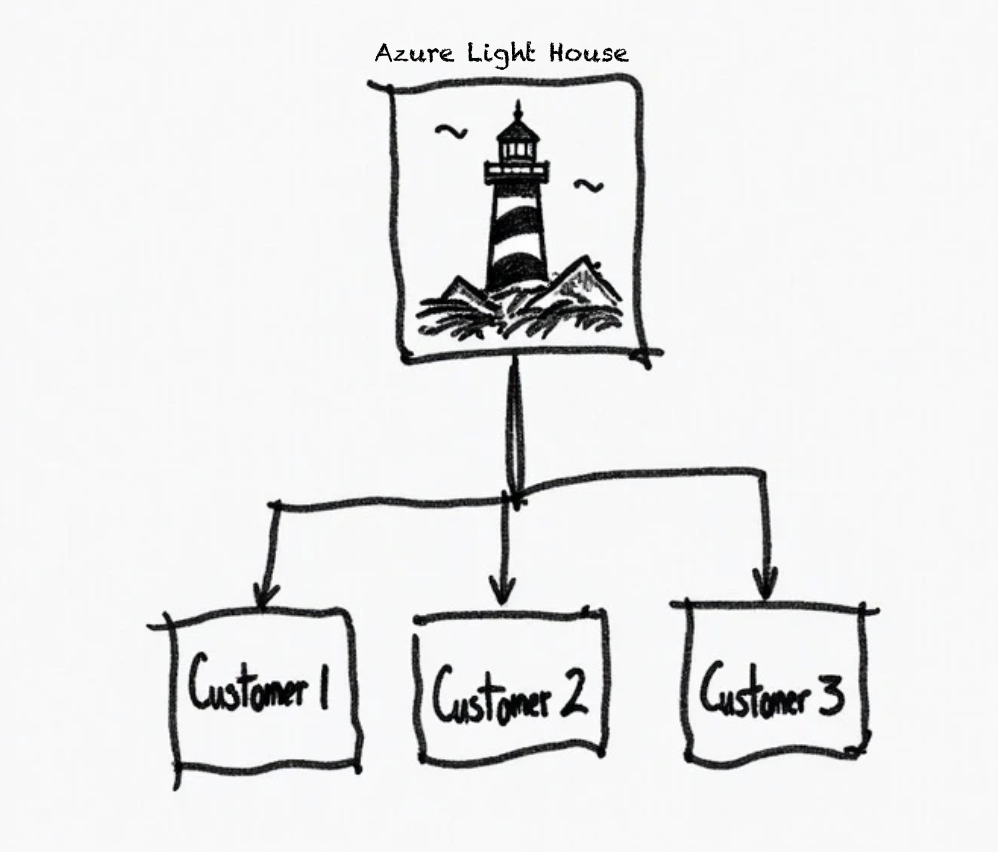
Azure Lighthouse solves this problem by allowing you to manage multiple sentinel workspaces across various tenants from a single pane of glass view and that too without having to have accounts created in each customer’s Entra ID tenant.
In this write up, I’ll walk through the steps for setting up Azure Lighthouse to manage multiple Sentinel workspaces across different tenants.
What is Azure Lighthouse?
Before we go over the steps to setup Lighthouse, let’s quickly summarise what Azure Lighthouse actually does. Imagine you’re a managed service provider (MSP) working with multiple clients or a a government department managing multiple portfolio agencies, Normally, you’d need to:
- Log into Client No. 1’s Azure portal using accounts in tenant 1.
- Do some work(respond to incidents,adjust playbooks and analytics etc.)
- Log out
- Log into Client No. 2’s Azure portal using accounts in tenant 2.
- Repeat this process for each client
With Azure Lighthouse, you can manage all clients from your own Azure portal using your own Entra ID accounts.
Understanding the Setup Process
Azure Lighthouse works through something called “delegated resource management.” Here’s the simple version:
- You create an offer template in your Azure environment that defines what permissions you need
- The customer accepts this offer by deploying the template in their Azure environment
- Once the above two are completed, you can manage their Sentinel workspace from your own Azure portal
This way you are in full control of what privileges are shared with the service provider and what actions they can perform.
Step 1: Creating Your Lighthouse Offer
The first thing we need to do as a service provider is create an “ARM template” (Azure Resource Manager template). This is basically a configuration file that tells Azure exactly what permissions you need in your client’s environment.
- Open your Azure portal and navigate to the Azure Lighthouse service
- Click on “Manage your customers”
- Select “Create offer”
You’ll be presented with a form asking to fill in some basic info such as name, description and authorization details.
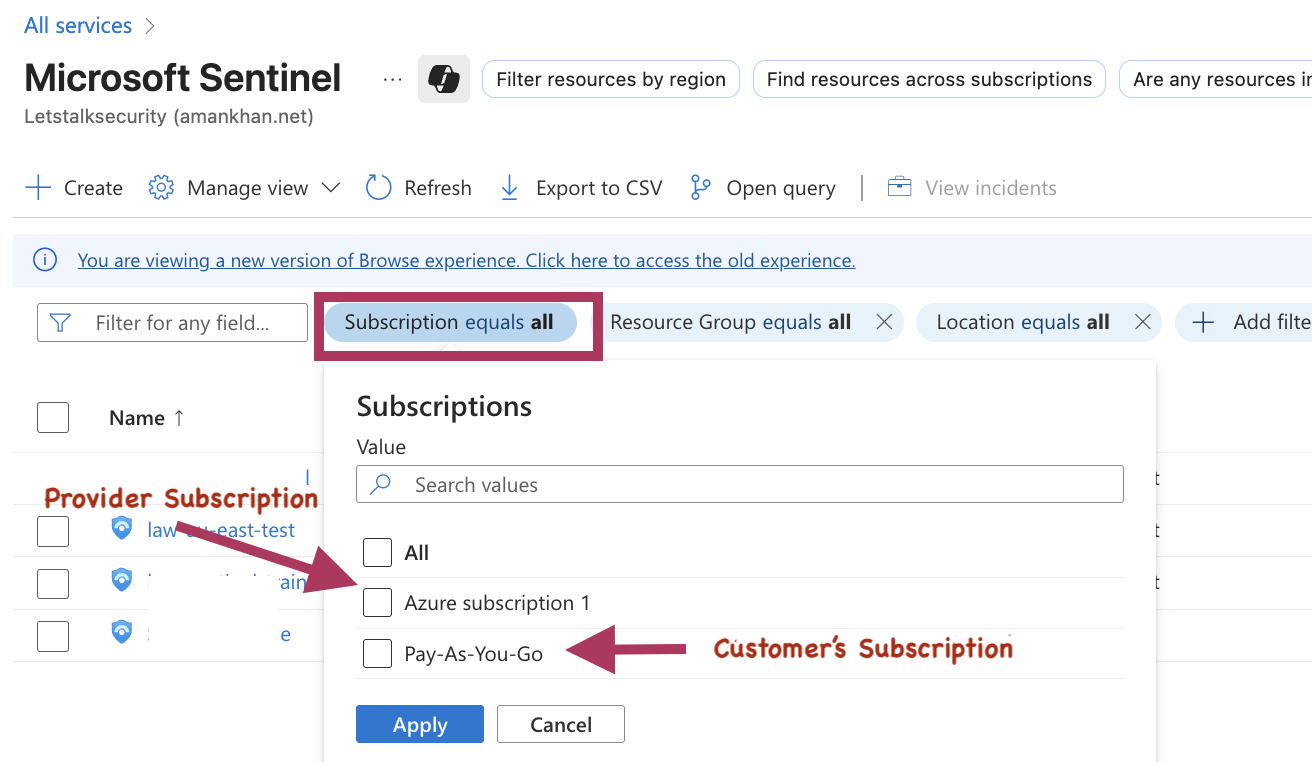
In my test environment, service provider has the Azure subscription called ‘Azure Subscription 1”
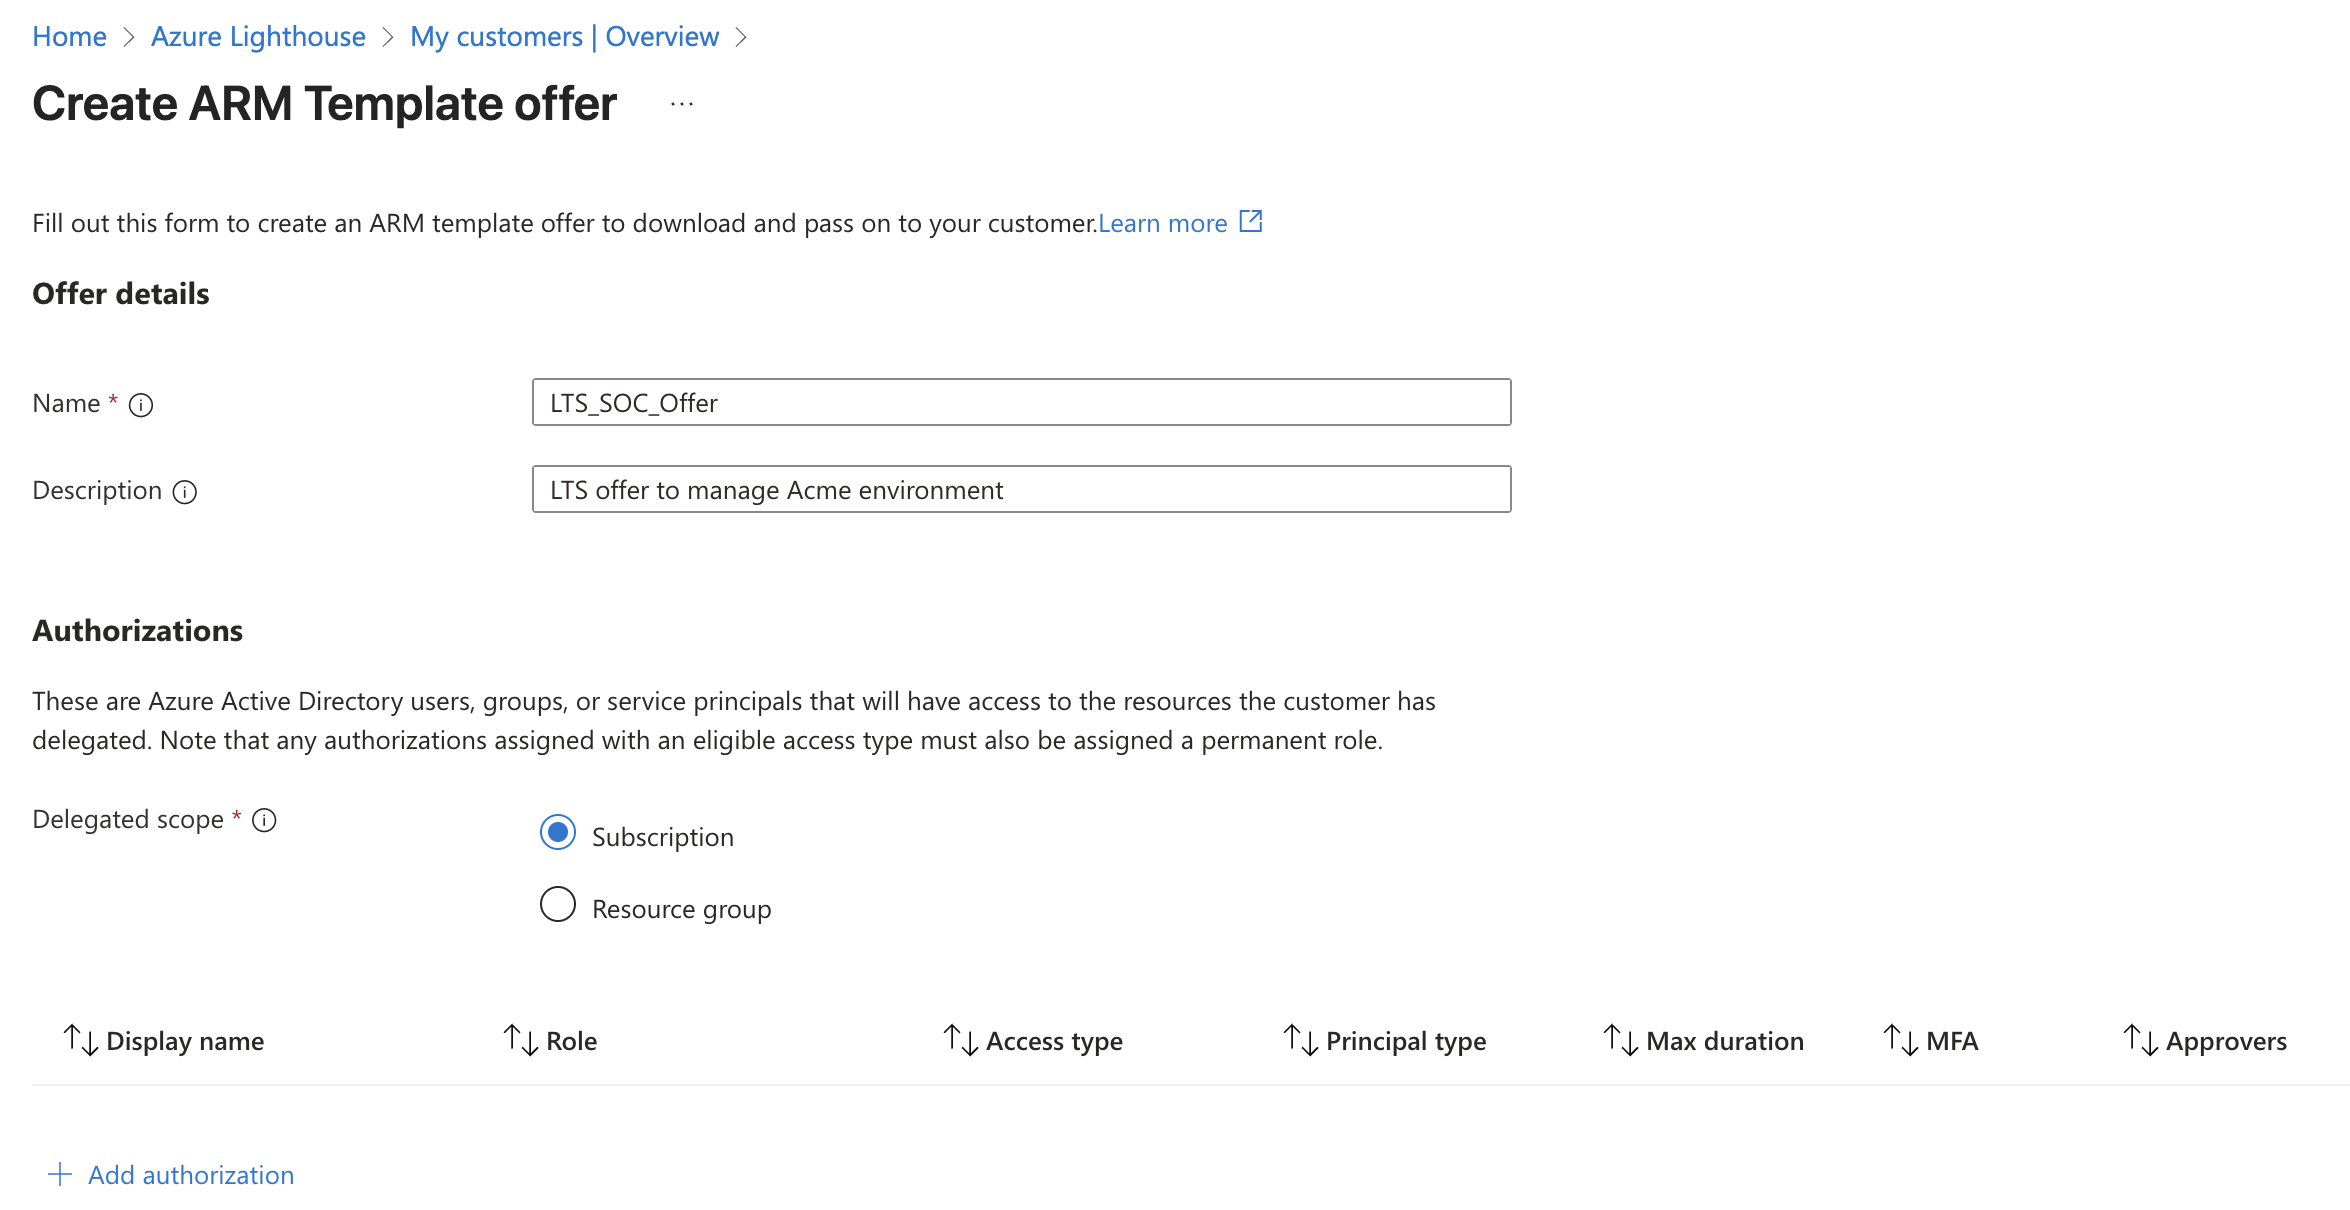
Fill in the Basic Information
- Offer Name: Give it a descriptive name like “IT Support Services for [Customer Name]”
- Description: Explain what you’ll be doing (e.g., “Monthly maintenance and monitoring services”)
Define Your Authorization
This is where you specify who in your organization gets what permissions. This is where you nominate users and groups in your tenant who need access to your customer’s Sentinel workspace. Depending on their role , their required permissions may vary. For reference, below are different Sentinel roles and associated permissions:
Microsoft Sentinel Roles
| Role | SIEM support |
|---|---|
| Microsoft Sentinel Reader | View data, incidents, workbooks, and other resources |
| Microsoft Sentinel Responder | All Reader permissions, plus manage incidents |
| Microsoft Sentinel Contributor | All Responder permissions, plus install/update solutions, create/edit resources |
| Microsoft Sentinel Playbook Operator | List, view, and manually run playbooks |
| Microsoft Sentinel Automation Contributor | Allows Microsoft Sentinel to add playbooks to automation rules. Not used for user accounts. |
Here’s what I typically request for a SOC engineer:
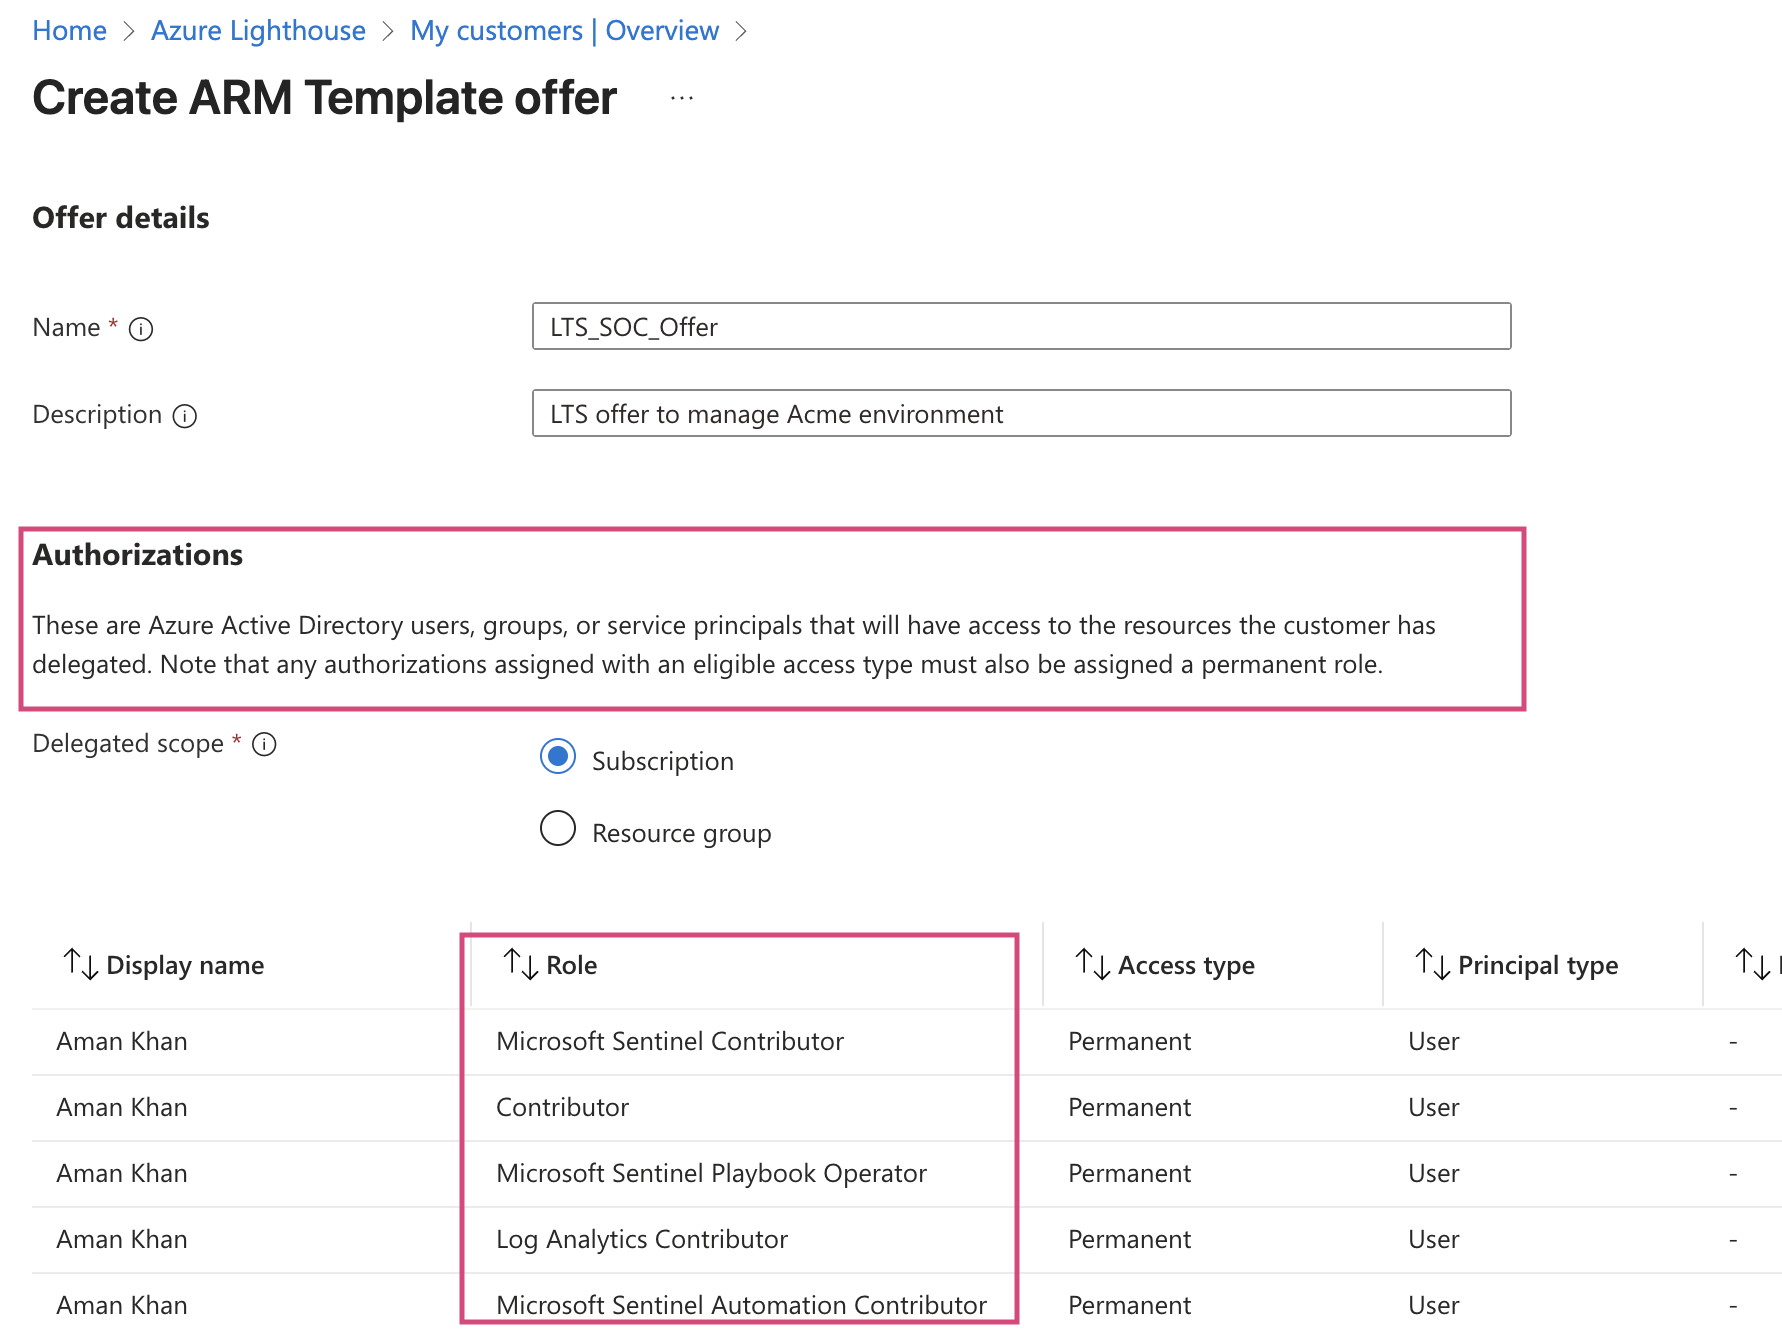
*Note: I have used a single user for the purpose of this tutorial, you’d use Entra ID groups in production for better management.
Generating the Deployment Template
Once you’ve filled in all the details, click ‘View Template’ and click ‘Download’
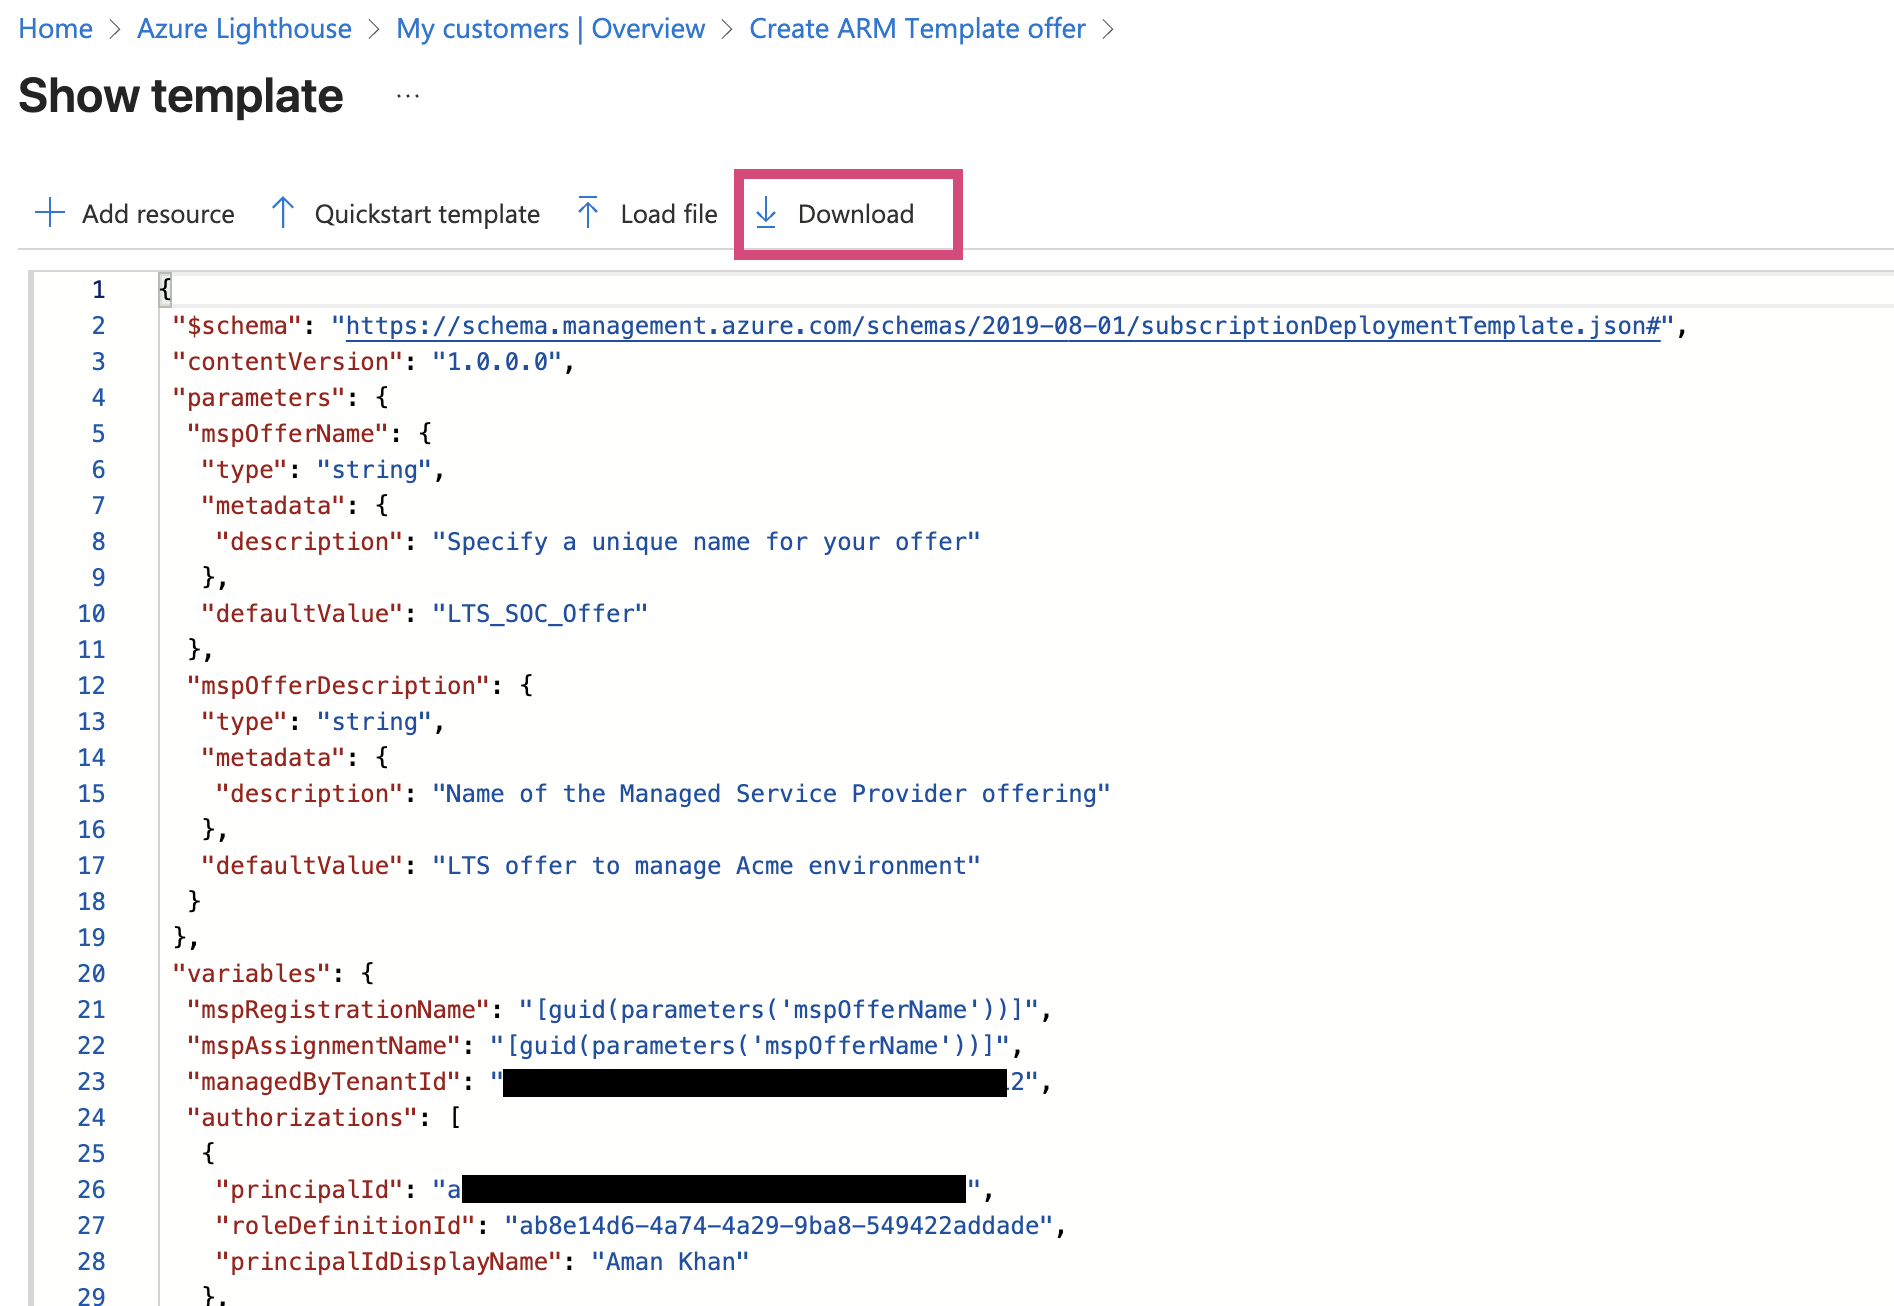
Download template file you’ll need to send this to your customer.
Step 2: Customer Deployment Process
Now comes the part where your customer needs to import and deploy the offer template . Here’s exactly what you need to tell them:
For the Customer:
Accepting the Lighthouse Offer

- Log into your Azure portal
- Navigate to “Service Providers”
- Click “Service Provider Offers”
- Click Add Offer
- Click “Add via Template”
- Browse to the template file created in step one and upload.

- Click “Review + Create”
- Click “Create”
In this test scenario customer’s Azure subscritption name is ‘Pay-As-You-Go’.
Step 3: Verifying the Setup
Once the customer has deployed the template, you should be able to see their resources in your Azure portal.
- On service provider side,Log on to Azure Portal
- Navigate to Portal settings
- Under “Current + Delegated Directories” select “All Directories”
- Click ‘Susbscription’ dropdown menu and ensure your customer’s scubscription is also selected

- Now in search field type ‘Sentinel’ and click Sentinel Icon
- In Subscription filter, click ‘All’ and ensure your customer’s susbcription is selected.
![Subscription Filter]()
- Click on the customer’s Sentinel workspace to start managing their resources
That’s it, now you can manage all your customers or different divisions of your organisation from single portal without having to switch identities.
Found this guide helpful? Share it with your team and don’t forget to bookmark it for reference.