
How to use Multipass to quickly spin up Ubuntu VMs
Sometimes, you may need to spin up Linux virtual machines for testing, and it can be time-consuming to download and install images repeatedly. Multipass solves this problem by allowing you to create disposable Ubuntu VMs instantly with just a few keystrokes.
Here’s a step-by-step guide to launching Ubuntu VMs using Multipass:
-
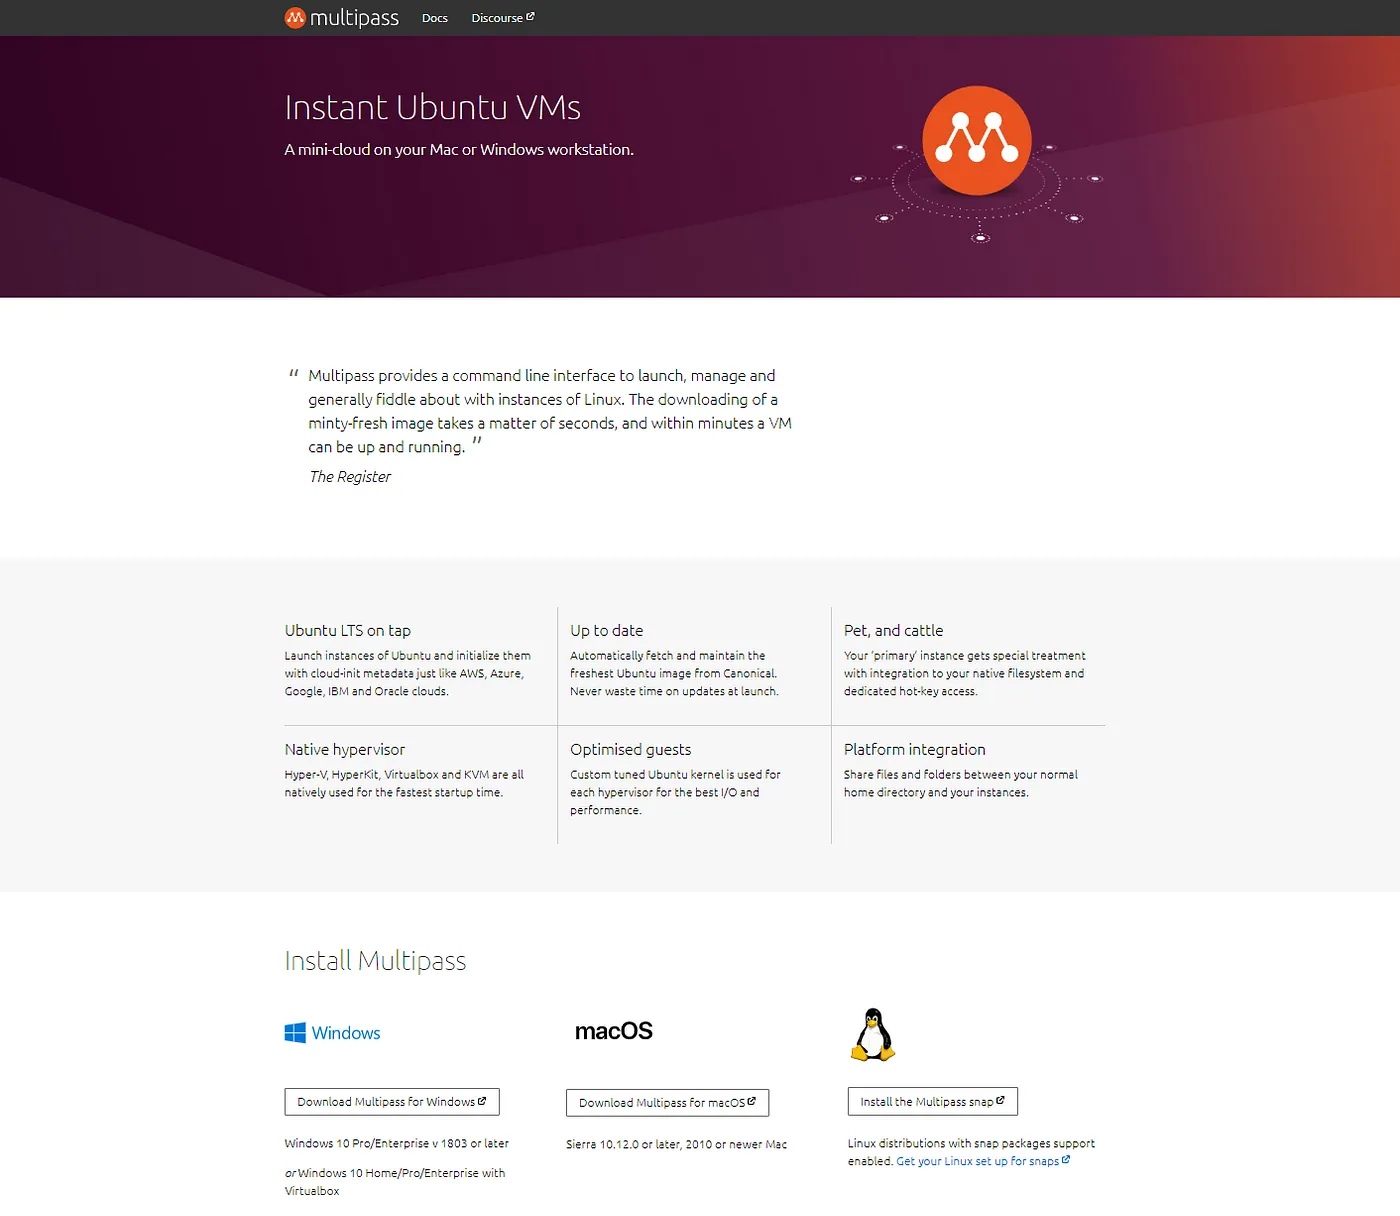
Download Multipass: First, you need to download Multipass from multipass.run.
![Download Multipass]()
-
Select Host OS: Choose your host operating system. In my case, I’ll be using Windows 10 with VirtualBox.
![Select Host OS]()
-
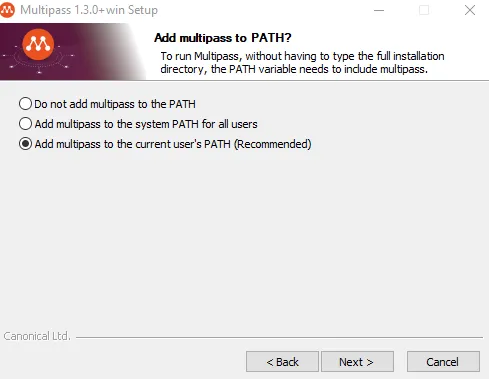
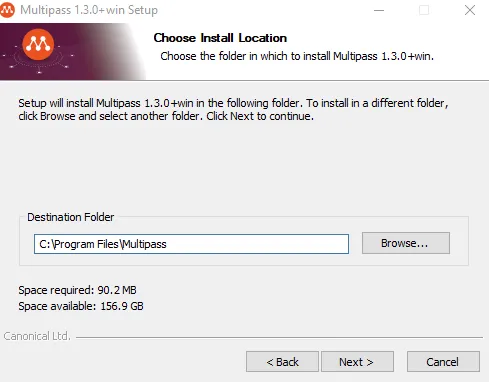
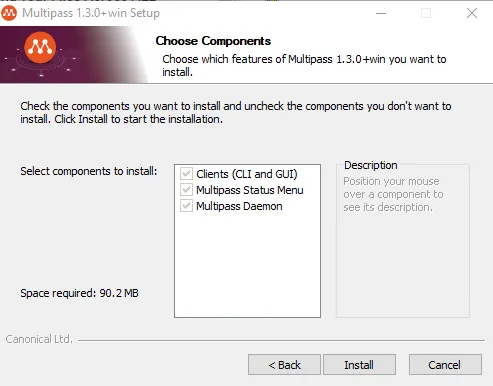
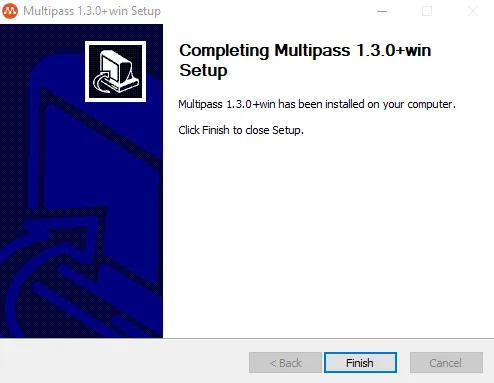
Installation: Download and run the executable, then follow the installation prompts.
![Installation]()
I prefer Oracle VM VirtualBox, but you can choose your preferred hypervisor.
![VirtualBox]()
![VirtualBox]()
![VirtualBox]()
![VirtualBox]()
- Launch a VM: Open the Windows command prompt and execute the following command:
C:\Users\User> multipass launch --name <name of your VM>The--nameparameter lets you give a name to your instance. In my case, I named it “clustermaster” for its role in my Splunk Cluster.![Launch VM]()
Multipass will begin launching the image in the background, and you’ll see a completion message when it’s done.![Launch Complete]()
- Verify Instance: Check if the instance is running by executing:
C:\Users\User> multipass list
![Verify Instance]() You can see that my newly launched instance is running and has Ubuntu 18.04.
You can see that my newly launched instance is running and has Ubuntu 18.04. -
Interact with VM: You have a couple of options to interact with your VM. You can execute commands directly from the Multipass prompt using the
execcommand:
C:\Users\User> multipass exec <vm name> -- <command>
![Interact with VM]() Here, I executed the
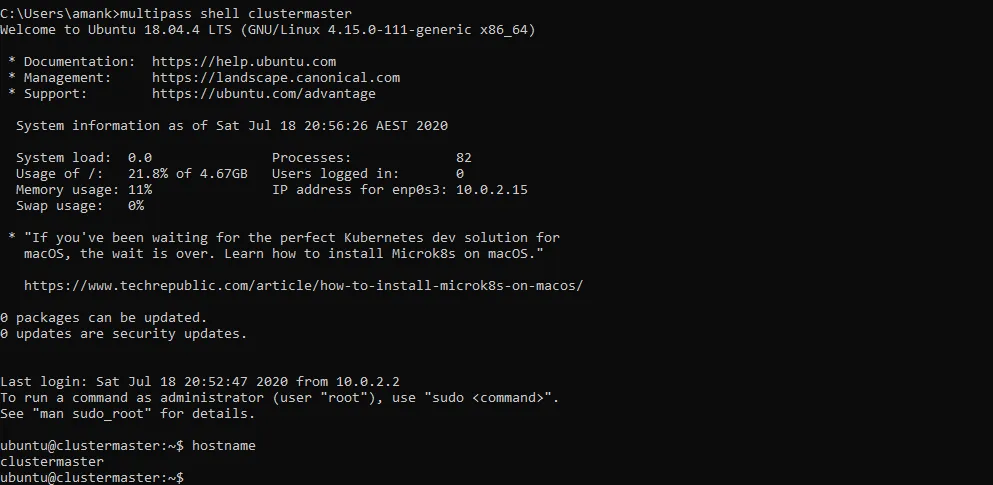
Here, I executed the uname -acommand from the Multipass prompt directly in my VM named “clustermaster”. This is a quick way to interact with your VM. If you want a complete interactive session, create a shell between the host and the VM with the following command:
C:\Users\User> multipass shell <name of your VM>![Create Shell]()
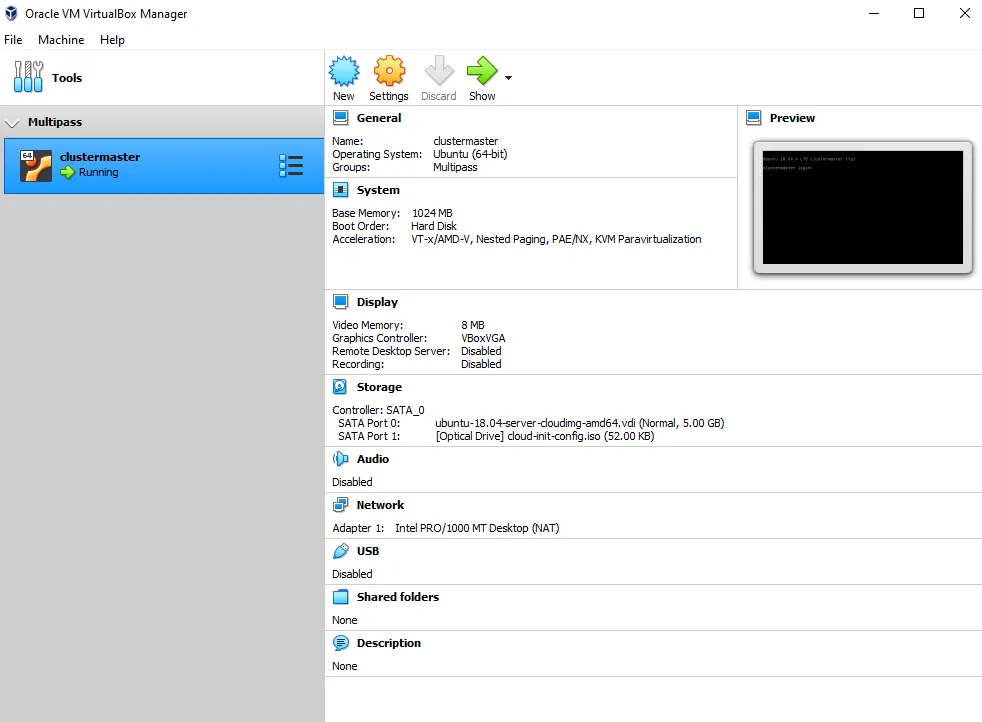
- Optional: If you want to manage instances in VirtualBox, download PSTools from the Windows Sysinternals site, extract the zip file to your Download folder, and then run the following PowerShell command as an admin:
C:\Users\User> & $env:USERPROFILE\Downloads\PSTools\PsExec.exe -s -i $env:VBOX_MSI_INSTALL_PATH\VirtualBox.exe
This allows you to view and manage the instances in VirtualBox, as you would with manually installed VMs.![PSTools]()


That’s it! You have your Ubuntu instance up and running quickly. When you’re done testing, you can shut it down with:
C:\Users\User> multipass shutdown vmname
or delete and purge VMs no longer needed with these commands:
C:\Users\User> multipass delete vmname
C:\Users\User> multipass purge
In summary, Multipass is a handy tool to quickly initiate Ubuntu instances and create your “mini cloud,” as described by Canonical, the tool’s author. It supports metadata for cloud-init, allowing you to simulate a mini version of a cloud deployment on your on-prem devices or even your laptop.